Setting up your hardware
Get your Bela hardware ready to go.
When you get your Bela system it’s important to check that everything is correctly assembled and that your personal computer is set up to work flawlessly with the board.
This article explains how to assemble and set up your Bela hardware and provides details on ensuring that your computer is configured correctly to work with it.
Table of contents
- Step 1: Get your board ready
- Step 2: Plug in the board
- Step 3: Check everything is working
- Troubleshooting
- What’s next
Step 1: Get your board ready
Bela Starter Kit
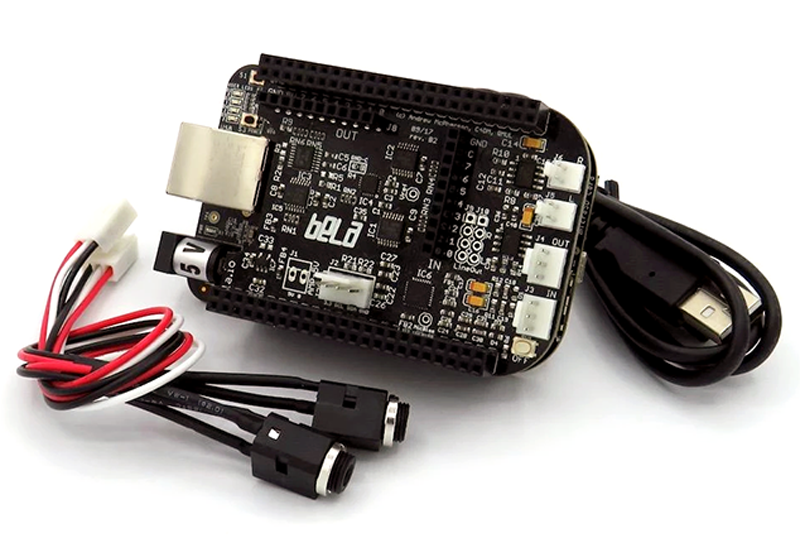
The Bela Starter Kit includes everything you need to get started: an assembled Bela unit (Bela cape on top of a BeagleBone Black computer), a mini USB cable, and two audio adapters.
Attach the USB cable to your Bela unit, connect to your computer, and you’re ready to start!
The Bela Starter Kit doesn't require an SD card, because it comes with the Bela software pre-flashed to the internal memory. Though an SD card isn't necessary, you certainly can still use one! See our guide on flashing an SD card here.
Bela cape
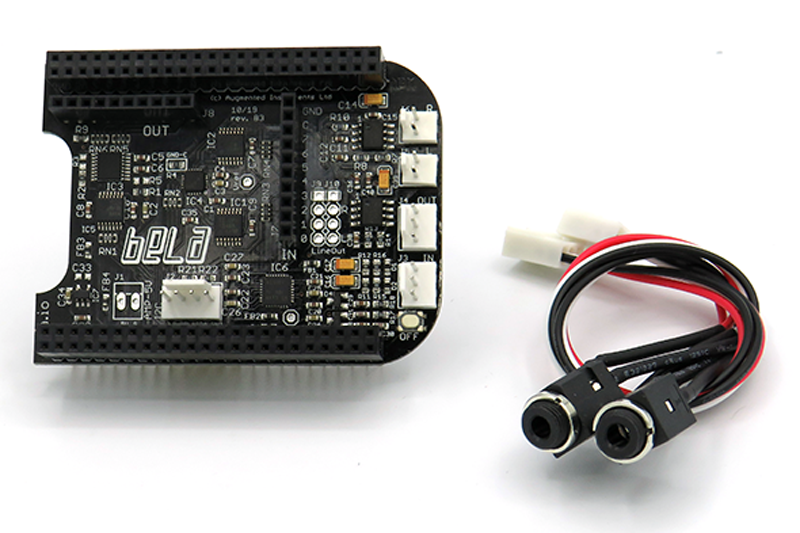
The standalone Bela cape comes with 2 audio adapters, but does not include a BeagleBone Black or a mini USB cable. You’ll also have to flash a micro SD card with the Bela software. Follow our guide for flashing your own card here.
To assemble your Bela unit, you’ll need both your cape and a BeagleBone Black. Position your cape on top of the BeagleBone Black with the round ends aligned. Position the cape’s pins on top of the BeagleBone Black’s pin headers, and gently push down to ease all pins into place. Make sure all pins are fully inserted to ensure a good connection.
When your Bela unit is assembled, just insert your flashed SD card into the BeagleBone Black’s SD card slot and you’re ready to go.
Bela Mini Starter Kit
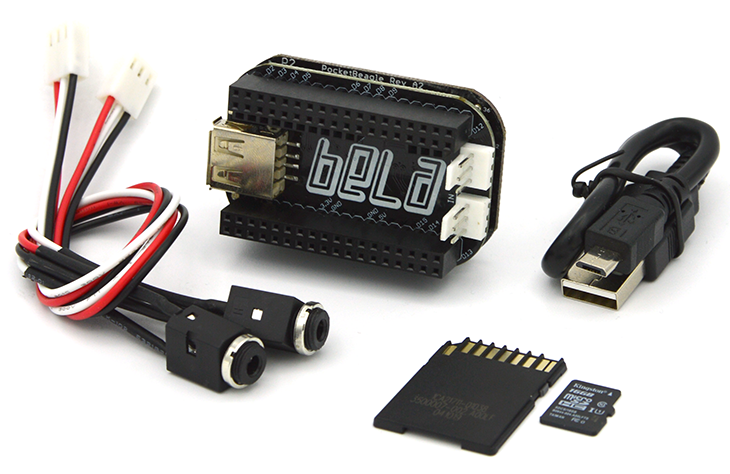
Bela Mini Starter Kit includes everything you need to get started: An assembled Bela Mini unit (Bela Mini cape soldered to a Pocketbeagle), 2 audio adapters, a micro USB cable and an SD card that comes flashed with the latest Bela software.
Insert the SD card into your Bela Mini’s SD card slot, connect your micro USB cable, and you’re ready for the next step.
Bela Mini cape
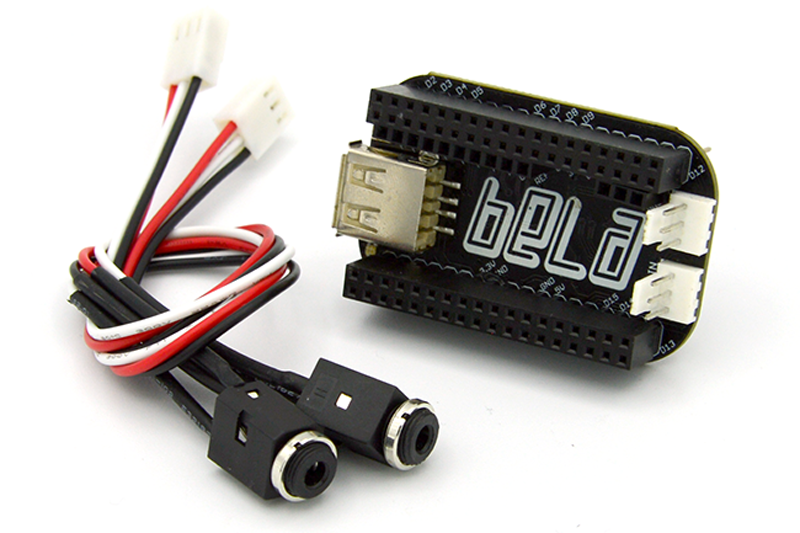
Bela Mini is also avaialble as a standalone cape. It comes with 2 audio adapters, but does not include the Pocketbeagle, SD card, or micro USB cable.
The Bela Mini cape must be soldered to the Pocketbeagle and orientation is crucial. See our Bela Mini assembly guide for detailed soldering instructions.
Step 2: Plug in the board
Once assembled connect your Bela unit to your computer using the appropriate USB cable and wait for it to boot up. Bela takes about 40 seconds to boot, and when it’s ready the blue LEDs will blink in a heartbeat pattern. Connect headphones to the connector labelled OUT using one of the included audio adapter cables.
Remember to connect your headphones to the Bela board rather than to your computer. Sound on Bela is generated entirely on-board, which is what lets you use it without a computer once your project is finished.
Step 3: Check everything is working
Your computer recognises Bela as a USB network device. Most systems do this automatically.
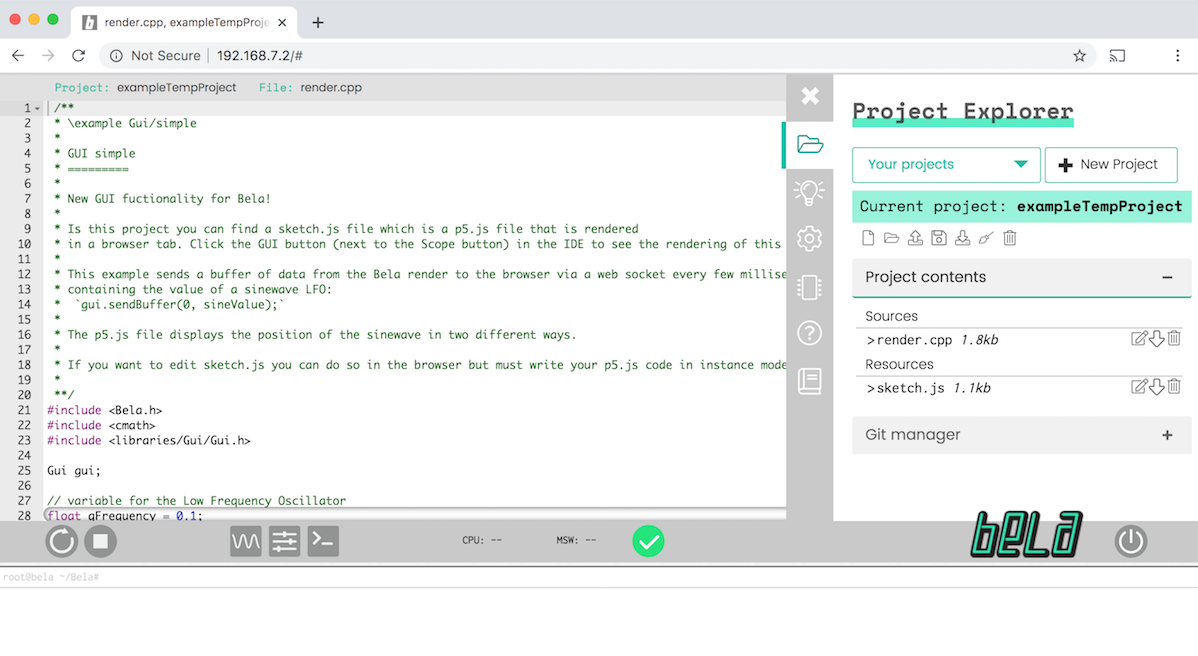
To check if your system is ready, open a web browser (we recommend Chrome) and go to http://bela.local. If you system is already configured, you’ll see this:
Troubleshooting
Flashing the Bela software
Before we can boot up your Bela board, it must be able to boot from the Bela software. Usually this means the Bela software has to be flashed to a micro SD card.
Bela Mini Starter Kits include a flashed SD card, and you can also add a flashed card to your order if you buy a cape. The Bela Starter Kit doesn't require a flashed SD card, because it comes with the Bela software flashed to its internal memory.
If you need to flash the Bela software to an SD card, follow this guide.
Setting up your network
If the IDE doesn’t load, you’ll need to do a quick driver install. Click below to find instructions for your operating system:
What’s next
Now that you have assembled your hardware and checked you can connect to the board let’s take a brief tour of the Bela IDE.