Working with Trill Craft
Trill Craft is a 30 channel capacitive touch breakout board which can be used to make all kinds of custom touch interfaces.
This tutorial details some of the ways in which you can make the most of Trill Craft, from getting the settings right when working with different materials to creating your own custom shaped sliders.
Table of contents
- Trill Craft for DIY touch sensing
- Building custom sliders with Trill Craft
- General tips for working with Trill Craft
Trill Craft for DIY touch sensing
Trill Craft has been designed for DIY touch sensing projects. You can create all kinds of different touch interfaces with Trill Craft including recreating handmade versions of any of the other Trill sensors. The open nature of this sensor makes it the perfect test bed for experimenting with different forms and materials. Trill Craft has 30 individual channels of capacitive touch sensing and so one way of using it is to detect 30 individual touches which can be simultaneous. In this post we’ll also look at how you can combine these readings in interesting ways to create sliders and other interface elements.
Capacitive sensing 101
Capacitive sensing has become one of the most widely used types of touch sensing due to its extensive usage in the touch screens of mobile phones. Under the smooth glass of these devices there is a grid of capacitive pads which can detect when a finger or other conductive material is near the screen.
Let’s take a step back here and explain the basic principles which we’re working with. Suppose we have a metal plate that we charge up to a known voltage. Charged particles will appear on the surface of the plate, and an electric field will surround it. There’s a certain amount of energy stored in the field, and classically the way we model this system is as a capacitor. The capacitance reflects the ratio between charge and voltage.
Now suppose we place our finger near the plate. Even without making electrical contact, the conductive quality of our finger will alter the electric fields surrounding the plate, which will change its charge and hence, ultimately, its capacitance. By measuring the capacitance of the plate, we can get a sense of the proximity of certain objects to that plate.

In the case of Trill Craft we have 30 channels of capacitive sensing which each essentially act like one of these charged plates. This means that we can have up to 30 conductive objects which can act as touch sensors once they are connected to the 30 channels of Trill Craft. The conductive objects, like the metal plate in the above example, will get charged up and as we touch the objects their overall capacitance will change. We can measure this change and do something in response when we notice a change.
Which materials work best?
The beauty of capacitive sensing in general is that you can use any conductive material as part of the sensing mechanism. What we mean is that any conductive material which is connected to the input channels of Trill Craft will then become part of the sensor itself, in that we will be able to detect touches on that material. So you can use various metals, water, fruit, pencil graphite, conductive ink, conductive thread, and even the human body as part of the sensing system: anything which conducts electricity.
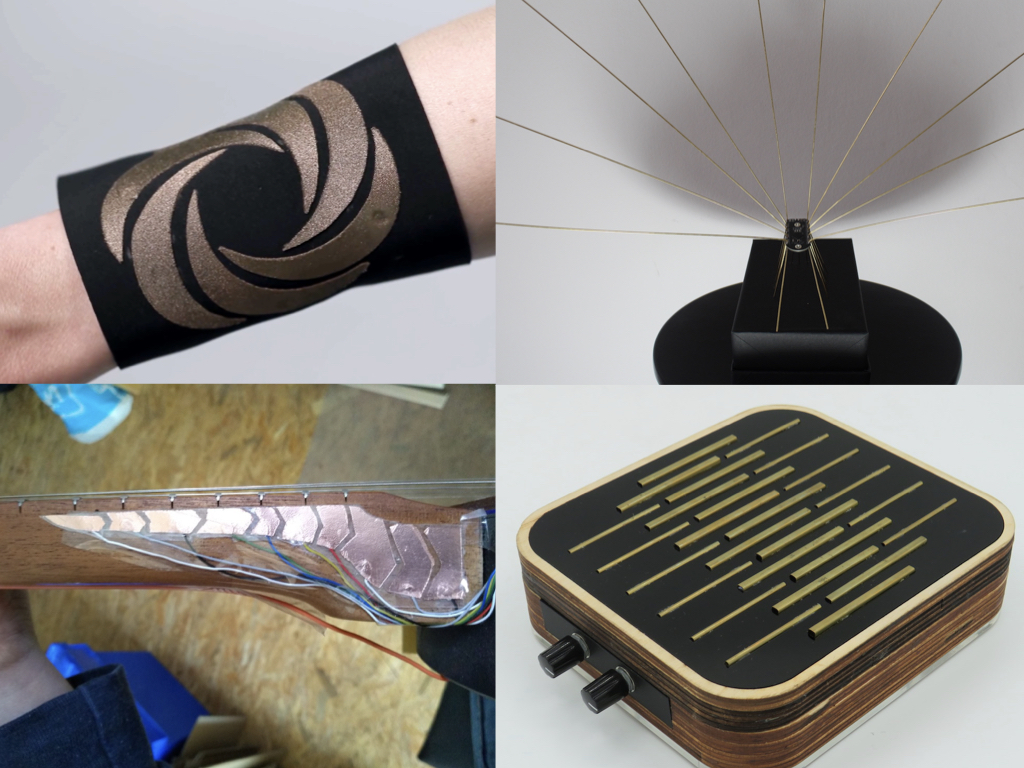
This is a selection of 4 interfaces and instruments created with Trill Craft. From top left clockwise: fabric circular slider by Becky Stewart, Rachel Freire and Mei Zhang; Sonic Circuit Sculpture by Helen Leigh; Brass Instrument by Robert Jack; Augmented Appalachian Banjo by Jon Reus.
Conductive fabric and thread
The proliferation of conductive fabrics and threads which are now available to makers has opened up many new possibilities for experimenting with e-textiles interfaces. Trill Craft is well suited for experimenting with such materials and we have a video tutorial given by Becky Stewart on how to integrate the sensor into your fabric projects.
Getting the settings right for your materials
Different materials allow electrical charge to build up in them in different ways and this is dependent on the size and conductive characteristics of the connected material, and even on things like air humidity. We need to adjust the settings of Trill Craft to best suit our materials. It is also important to avoid interference in your signals by using shielded cables and making sure the cables are not touched and are not running over sources of electromagnetic noise.
Adjusting the sensitivity and threshold
It will most likely be necessary for you to adjust the prescalar (sensitivity) and threshold (read above) values in your code to make the most of the material you have connected to Trill Craft. Have a look at our guide to changing the settings to find out exactly what they each mean and how to adjust them. An ideal project for testing the efficacy of a material as a sensor is the general-settings project which allows you to experiment with different readings and visualise their effects.
Building custom sliders with Trill Craft
As well as 30 channel touch interfaces, Trill Craft can be used to make sliders of custom lengths and sizes.
Patterns for creating sliders
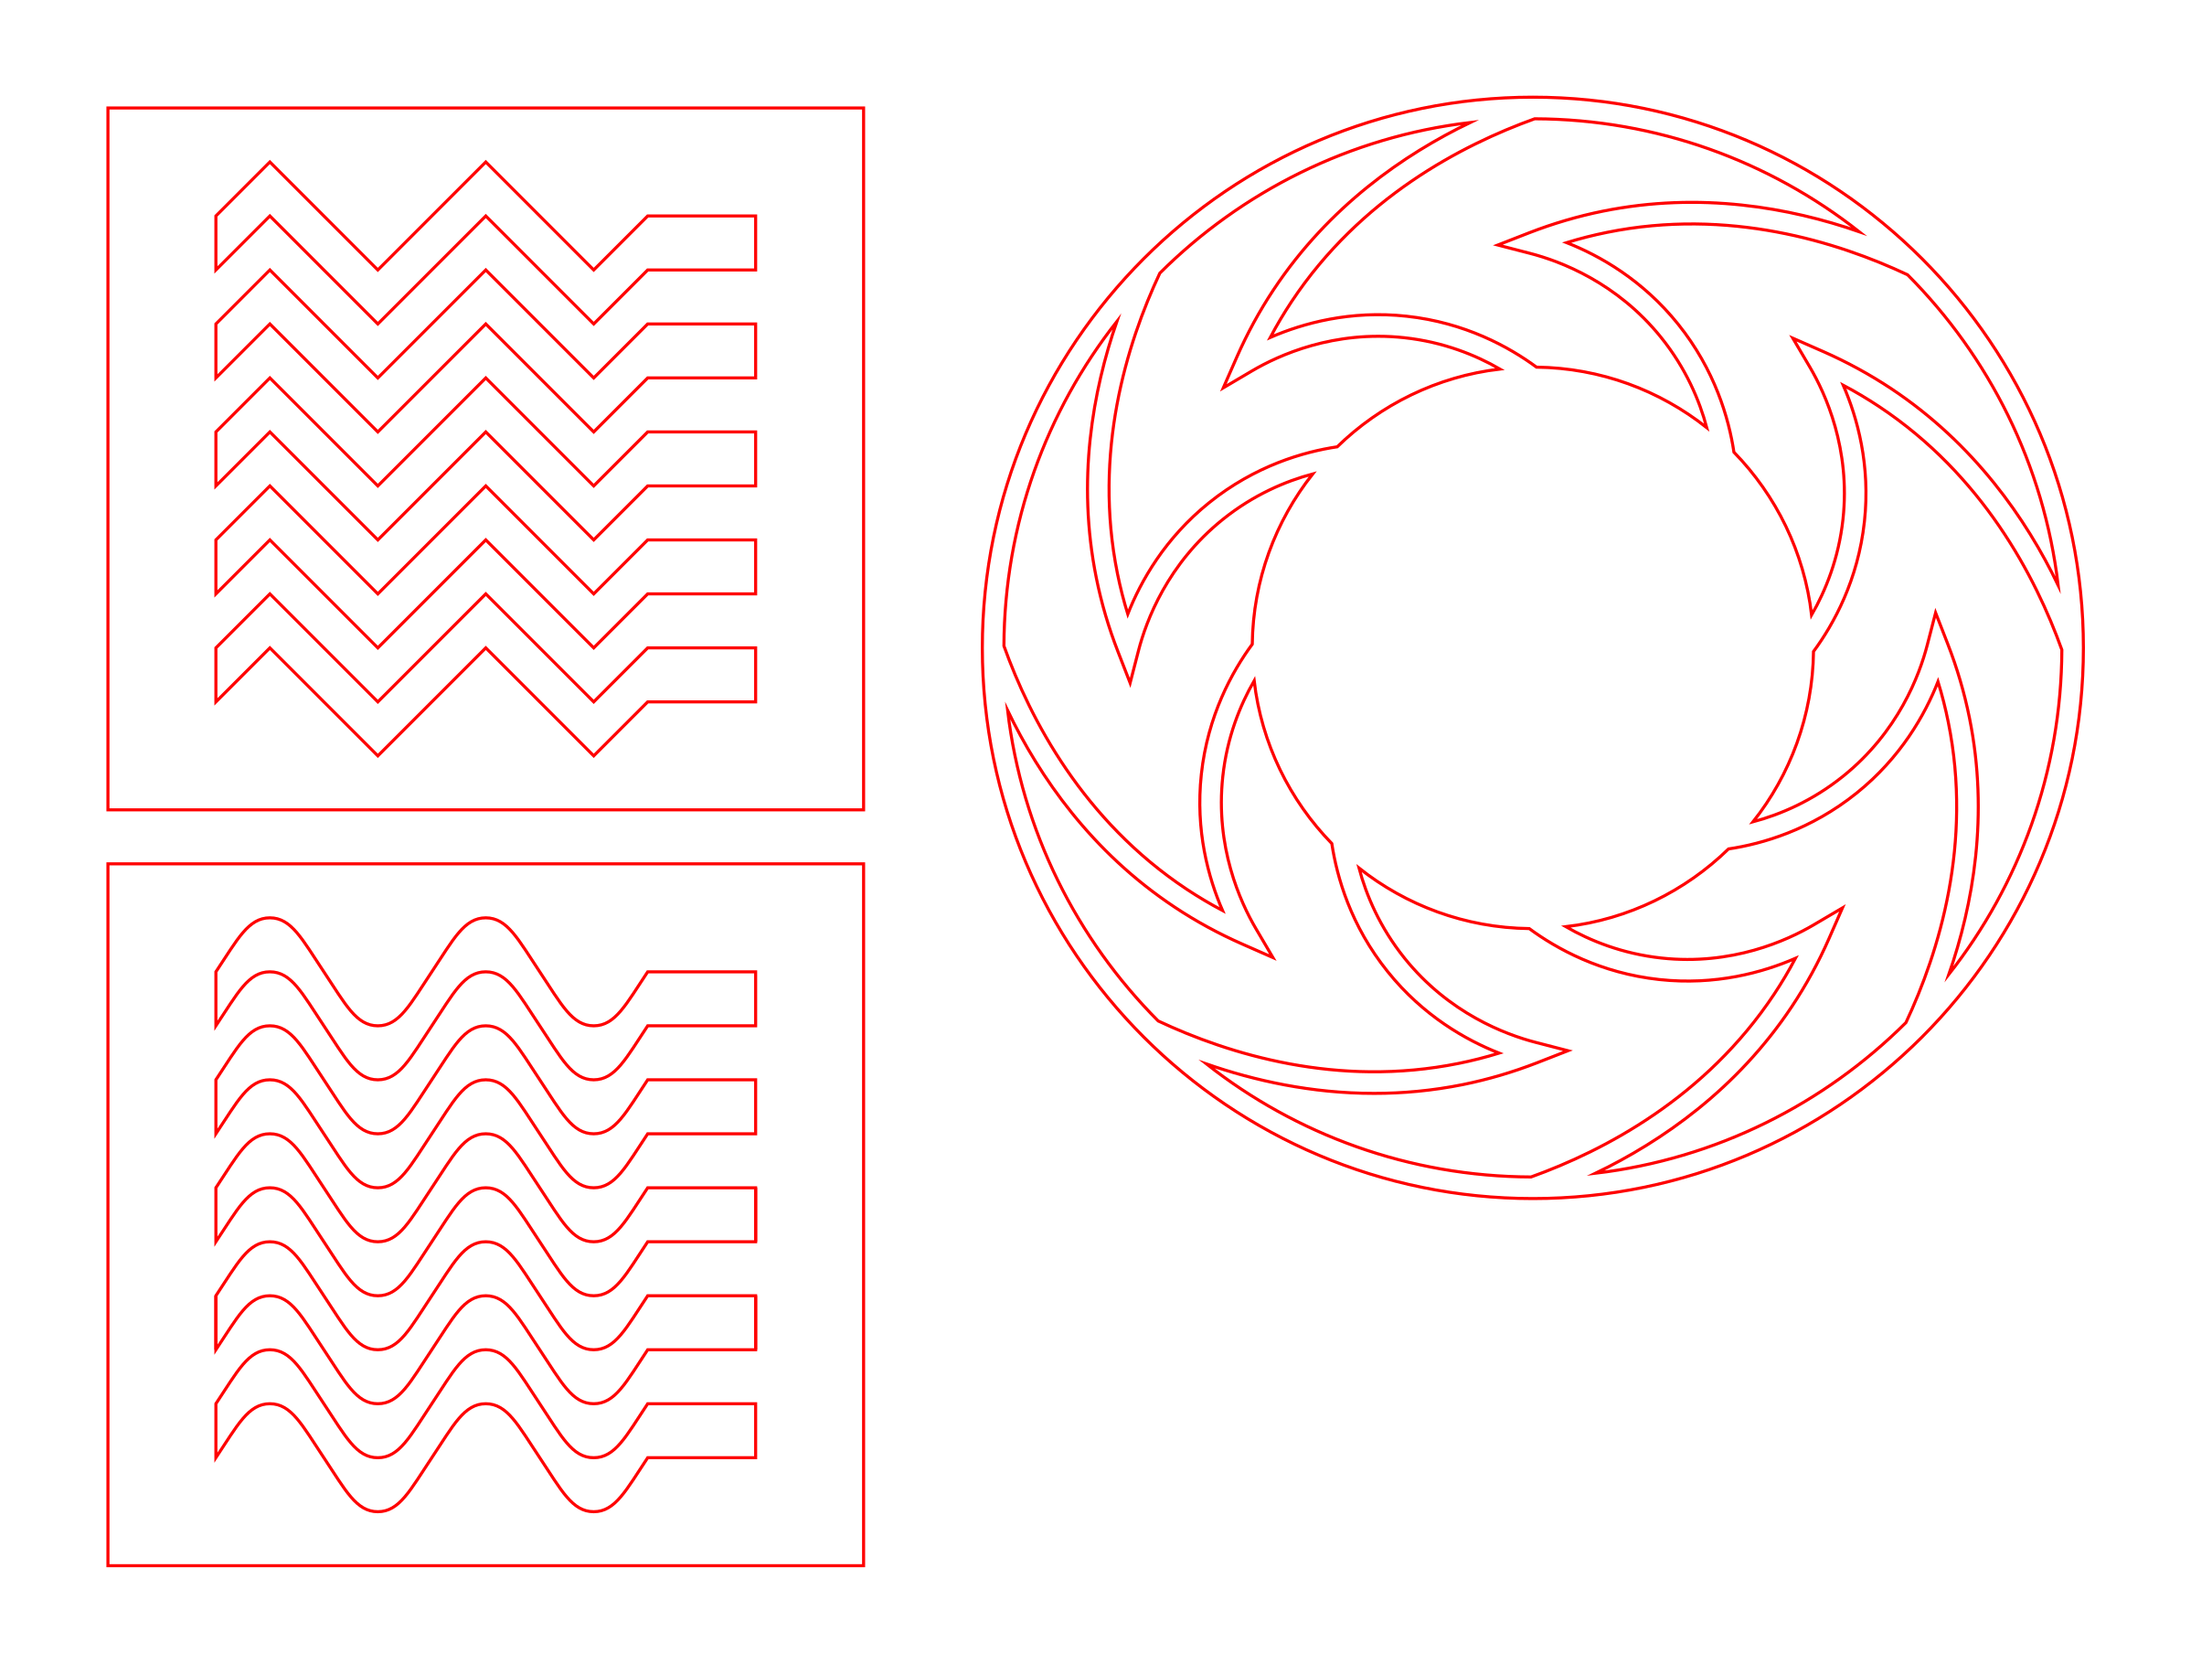
When designing your own sliders the important thing to consider is the arrangement of the pads. If you look closely at Trill Bar or Trill Ring you will see that on the top surface there is a pattern of interlocking zig-zags.
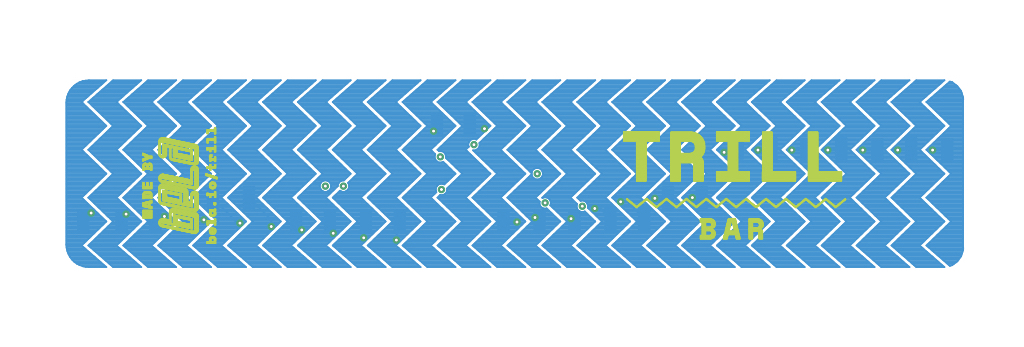
Close-up of the Trill Bar slider.
Before explaining why we have this pattern it’s worthwhile to just take a step back and explain how Trill Bar and Ring work. On these sensors we have a number of individual pads which are all laid out close to one another. As you touch the top of the sensor with your finger you activate a number of different pads at once with varying intensities depending on which pad is closest to your finger. In order to calculate the position of the finger on the slider we calculate a weighted average of the readings on each pad.
So our aim with the zig-zag pattern is to make sure that when a finger tip touches the sensor it is always detected on several pads at once. With this zig-zag pattern and the correct dimension of the sensors we are able to guarantee this.
As you increase the sensor in size you eventually end up losing out on spatial resolution as we only have a fixed number of capacitive channels at our disposal. This can result in a stepped reading from the sensor as the finger at times in detected on only one pad.

Close-up of the Trill Square x-y touch pad.
The arrangement of the sensing channels produce different sensing results. For example, Trill Bar and Trill Ring have 30 zig-zagged channels arranged in a straight line, meaning that they’re one-axis sliders. They can also detect up to 5 different points of contact. Trill Square and Trill Hex sensors, with their 2 groups of 15 channels overlaid on one another at a straight angle, can sense the location of a touch in two dimensions (x and y). You can experiment with different arrangements.
Materials for crafting sliders
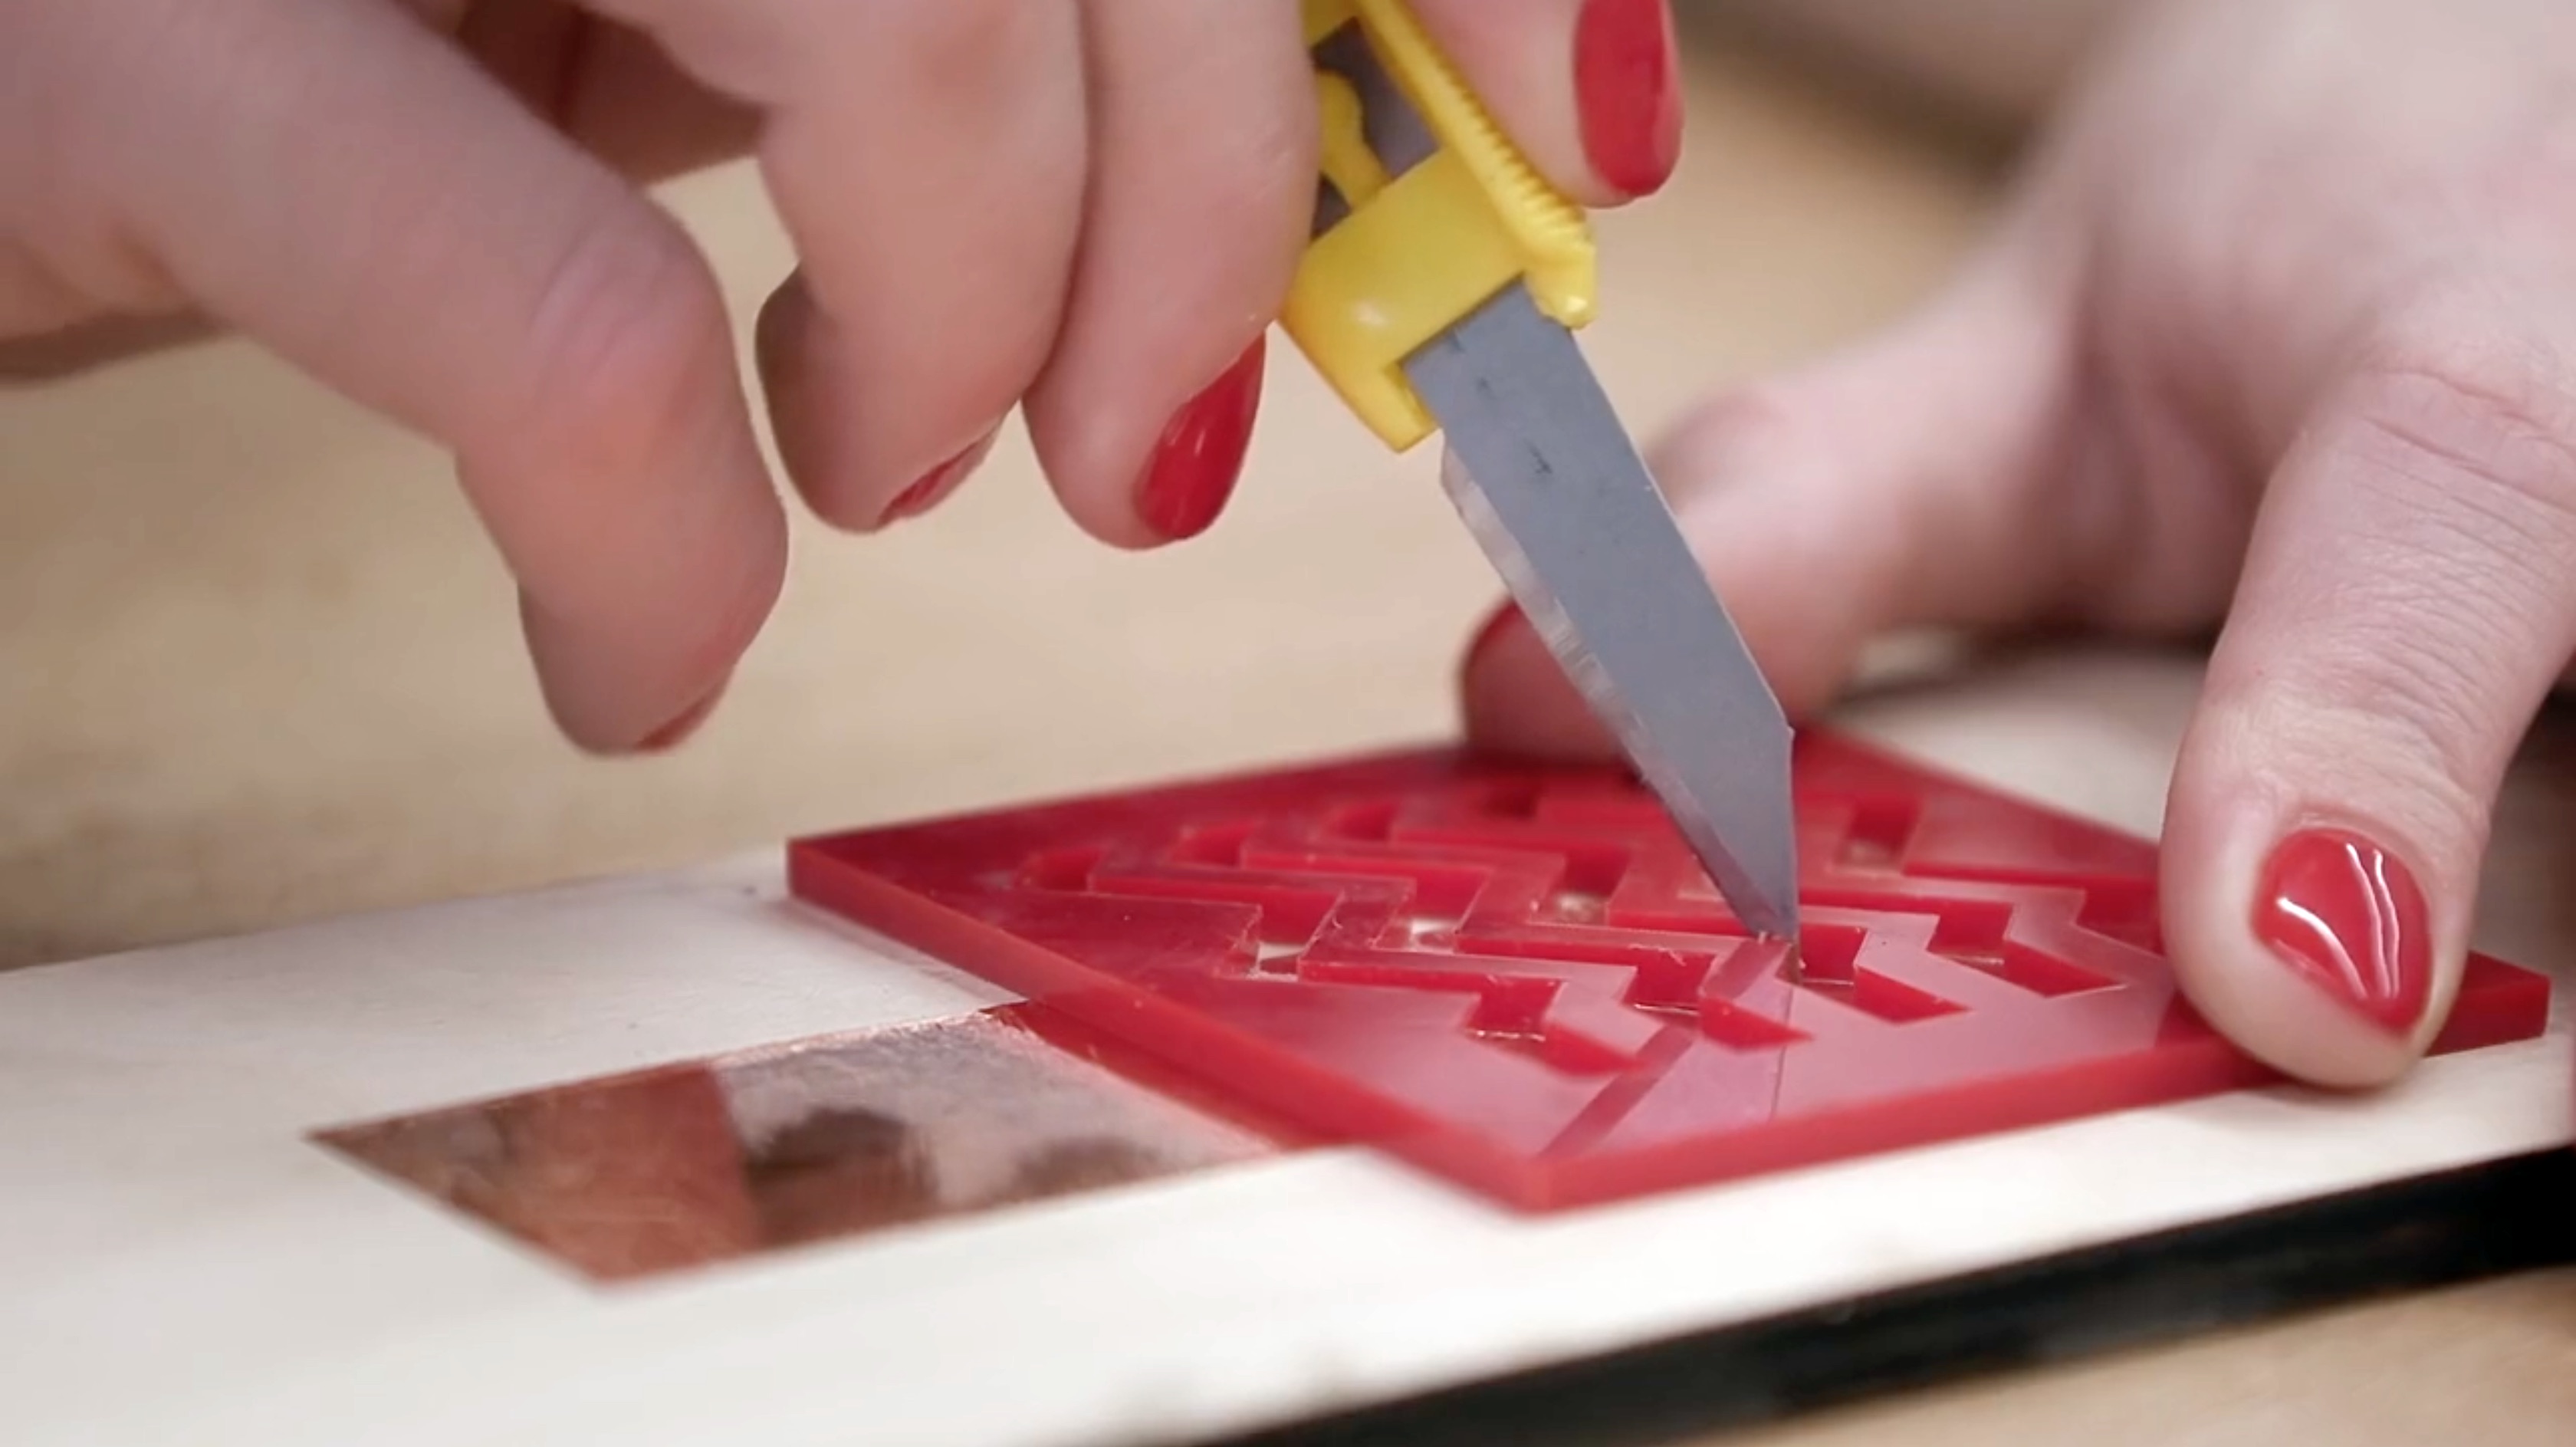
One of the most useful and flexible materials for creating your own sensors is copper tape. This comes in all sorts of widths and from many manufacturers but the important thing is to make sure that you work with copper tape with conductive adhesive. This allows connections to be easily made to both side of the tape. Some larger sheets of adhesive backed copper can be cut on a plotter machine but a craft knife also works well. Conductive ink is another great prototyping material (see our previous blog post), as is conductive fabric and thread (see our tutorial on fabric interfaces with Trill Craft).
Example templates
In order to make a DIY slider with Trill Craft we first laser cut a cutting guide that would make it easy to cut the pattern into a copper tape. This can also be done by hand or with a cardboard guide if you don’t have a laser cutter at your disposal. Printing out a pattern on paper, laying it on top of the copper and then tracing the pattern with pencil onto the copper before cutting also works well. You can download the template here.

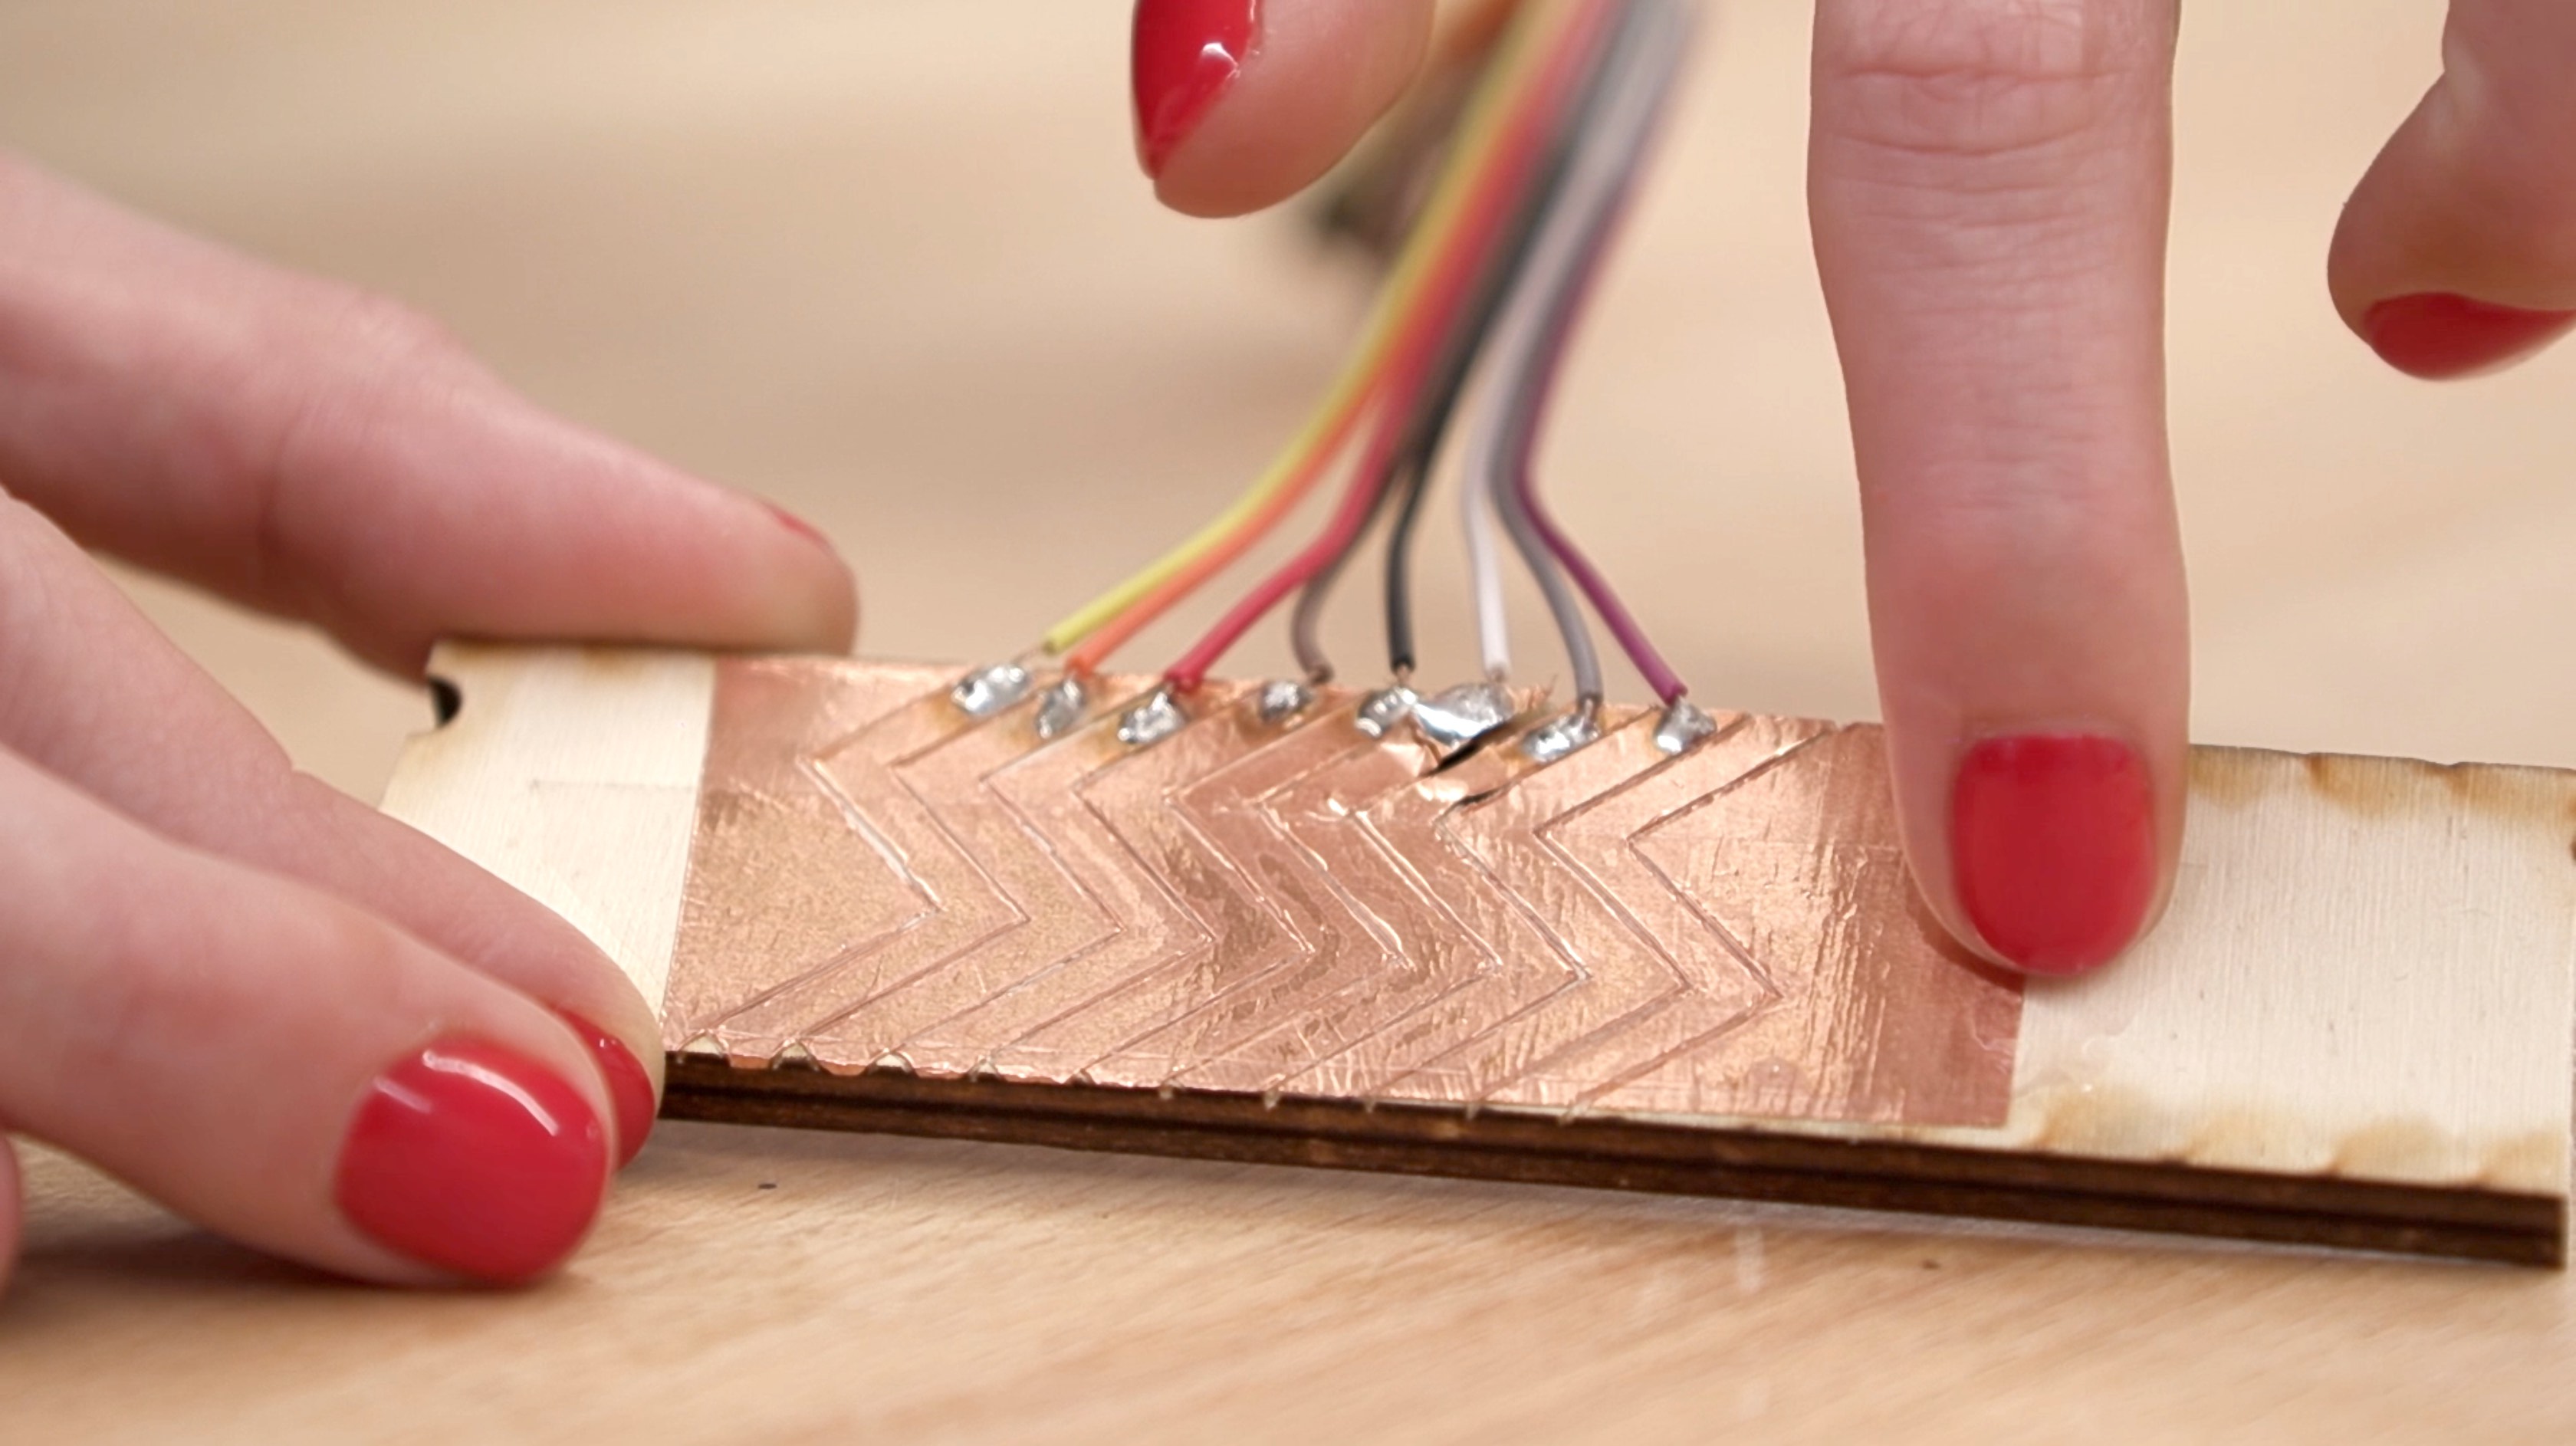
We held a largish piece of copper tape (with conductive adhesive) in place with masking tape, placed the cutting guide on top and then cut the pattern into the copper with a craft knife. Once the tape was cut into its various sections we then carefully stuck each piece in place onto the surface of a thin piece of wood ensuring that each pad was separated from the previous one. As a final step it is a good idea to ensure that every pad is independent with a multimeter by checking for shorts between each pad.
Connecting to Trill Craft
We now need to connect each of the pieces of copper tape to the pads on Trill Craft. This can be done by soldering a wire directly to the copper tape. Once you’re happy with the arrangement and have once again checked that each channel is not shorted together (use a multimeter or alternatively run the general-settings example), then you are ready to cover the copper in sellotape or another non-conductive thin tape to help stabilise the readings and protect the pads.
Reading touch position
Firstly ensure that you are using a group of pads which are next to one another and subsequent for example pads 0-13 or 7-24. To read the position of touch on these pads we can use the built in centroid detection mode which we use in the other slider form Trill sensors. You can set the slider into centroid mode
	if(touchSensor.setup(1, Trill::CRAFT) != 0) {
			// ... handle initialisation error
	}
	// set the sensor to CENTROID mode
	touchSensor.setMode(Trill::CENTROID);
When you initialise Trill sensor by calling the setup() or begin() method, the device is set to the default mode for the sensor type. You can change the active mode with a call to setMode() as is shown above.
It is important to ground all the unused channels of Trill Craft to prevent spurious readings from affecting the centroid reading.
With the above set up you will get a slider position and touch size reading for multiple touches on your new custom slider.
General tips for working with Trill Craft
Here are some general pointers which are important to bear in mind when working with Trill Craft.
Grounding makes a big difference
If you find that you are getting an unsatisfactory reading when you touch the capacitive pad try grounding yourself and touching the pad again. To ground yourself you just need to hold a cable which is connected to ground on your board in your hand, or attach it to yourself somehow. See what difference you get in readings when your computer is connected to power or not, even taking your shoes off can make a large difference. Consider this when designing your projects and experiment with what works best for you.
Trill Craft can do proximity sensing
With a decent sized piece of metal foil or other conductive material and the right settings it is possible to sense from up to 50cm away with Trill Craft. You want a large sheet of material connected to the channels and the prescalar values set low.
Avoid touching pads when the board powers on
Every time that Trill Craft powers on it readjusts the baseline. The baseline is the base capacitance on all the channels of Trill Craft which is then stored. Any changes in the capacitance are measured in relation to this baseline. This means that if you have your hand on one of the connected materials then it will be considered as part of the baseline and so could reduce the range you will get from that sensor channel.
Covering pads helps readings
Depending on what your pads are made from, covering them in a thin material can help stabilise the reading you get from them. Trill Craft can sense through thin materials like sellotape, vinyl or even thin plastic.
Cables can also become sensors
When working with Trill Craft you need to be aware that the cables are themselves part of the capacitive plate and so should be shielded to minimise interference.
Bigger surface area gives bigger signals
Up to a point, the bigger the surface area of your sensor, the stronger the signal will be. As mentioned above, a bigger surface area is also good for proximity sensing.